Installing timber floors can be a rewarding DIY project that adds warmth and beauty to your home. Here’s a step-by-step tutorial to guide you through the process:
Materials and Tools:
- Timber flooring planks
- Underlayment
- Moisture barrier (if required)
- Spacers
- Adhesive or nails
- Circular saw or jigsaw
- Tape measure
- Pencil
- Tapping block
- Hammer or flooring nailer
- Level
- Carpenter’s square
- Safety gear (gloves, safety glasses, ear protection)
Step 1: Prepare the Subfloor:
Ensure that the subfloor is clean, dry, and level. If needed, install a moisture barrier to protect the timber from moisture damage.
Step 2: Acclimate the Timber:
Allow the timber planks to acclimate to the home temperature and humidity/warm for at least 36 to 48 hours. This helps prevent warping or buckling after installation.
Step 3: Install Underlayment:
Roll out the underlayment over the subfloor, securing it in place with tape. This helps reduce noise, provides insulation, and creates a smoother surface for the timber.
Step 4: Plan the Layout:
Plan the layout of the timber planks, considering the room’s shape and size. Start from the longest wall, keeping a 1/2-inch expansion gap around the perimeter to accommodate natural expansion and contraction.
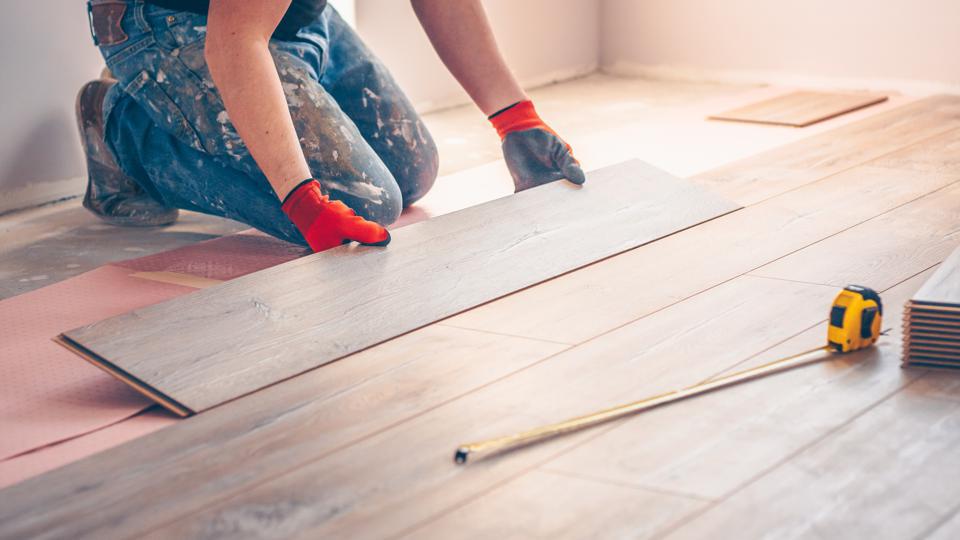
Step 5: Install the First Row:
Lay the first row of timber planks with the tongue side facing the center of the room. Use spacers to maintain the expansion gap. Secure the planks by either applying adhesive to the groove and tapping them in place or nailing them down.
Step 6: Cut Planks as Needed:
Measure and cut the end planks as needed, using a circular saw or jigsaw. Ensure a staggered pattern by starting the second row with a plank cut in half. Use the cutoff from the first row to begin the third row.
Step 7 Continue Installation:
Continue Installation: Continue installing the rows of timber, interlocking the tongue and groove edges. Tap block and hammer to ensure a snug fit without damaging the planks.
Step 8: Around Obstacles:
When reaching doorways or other obstacles, measure and cut the timber planks accordingly. Use a carpenter’s square to ensure accurate cuts.
Step 9: Install the Last Row:
Measure and cut the last row to fit, leaving the required expansion gap. A pull bar can be useful for tight spaces against walls.
Step 10: Finishing Touches:
Once the floor is installed, remove spacers and install baseboards or trim to cover the expansion gap. Check the entire floor for any loose boards, and secure them if necessary.
Remember to follow the manufacturer’s guidelines for your specific timber flooring product, as installation methods may vary. Additionally, always prioritize safety by wearing appropriate protective gear and using tools in accordance with safety recommendations.